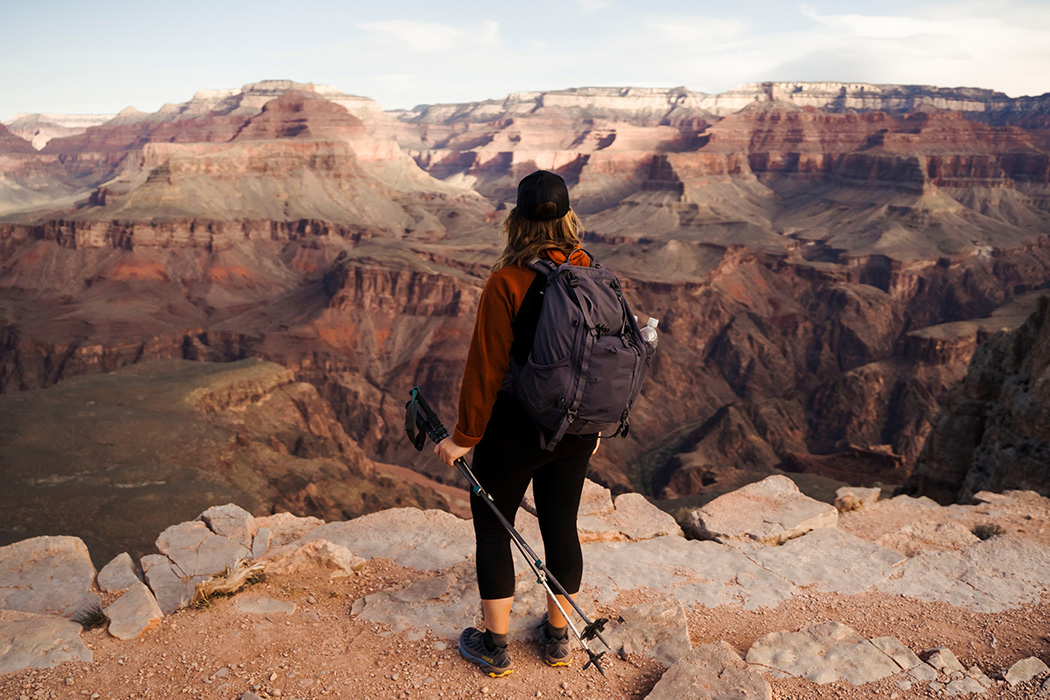
If you're looking for a great hike in Aspen, Colorado, look no further than the Maroon Bells-Snomass Wilderness. The small piece of rugged alpine terrain can be found just 10 miles from Aspen. Most trails are straightforward, some starting at 8,300 ft. and rapidly ascending. You can hike in this area all year.
Due to its elevation, Maroon Bells hikes require solid footwear. The road is closed in November and reopened in May. Winter months are much colder than summer. You can still take snowmobile tours in the nearby mountain ranges if you are visiting the area during the winter months. You will need to drive 6 miles one-way to reach the Maroon Lake trailhead. If you have small children, it is worth hiring a babysitter and hiking a trail in winter.
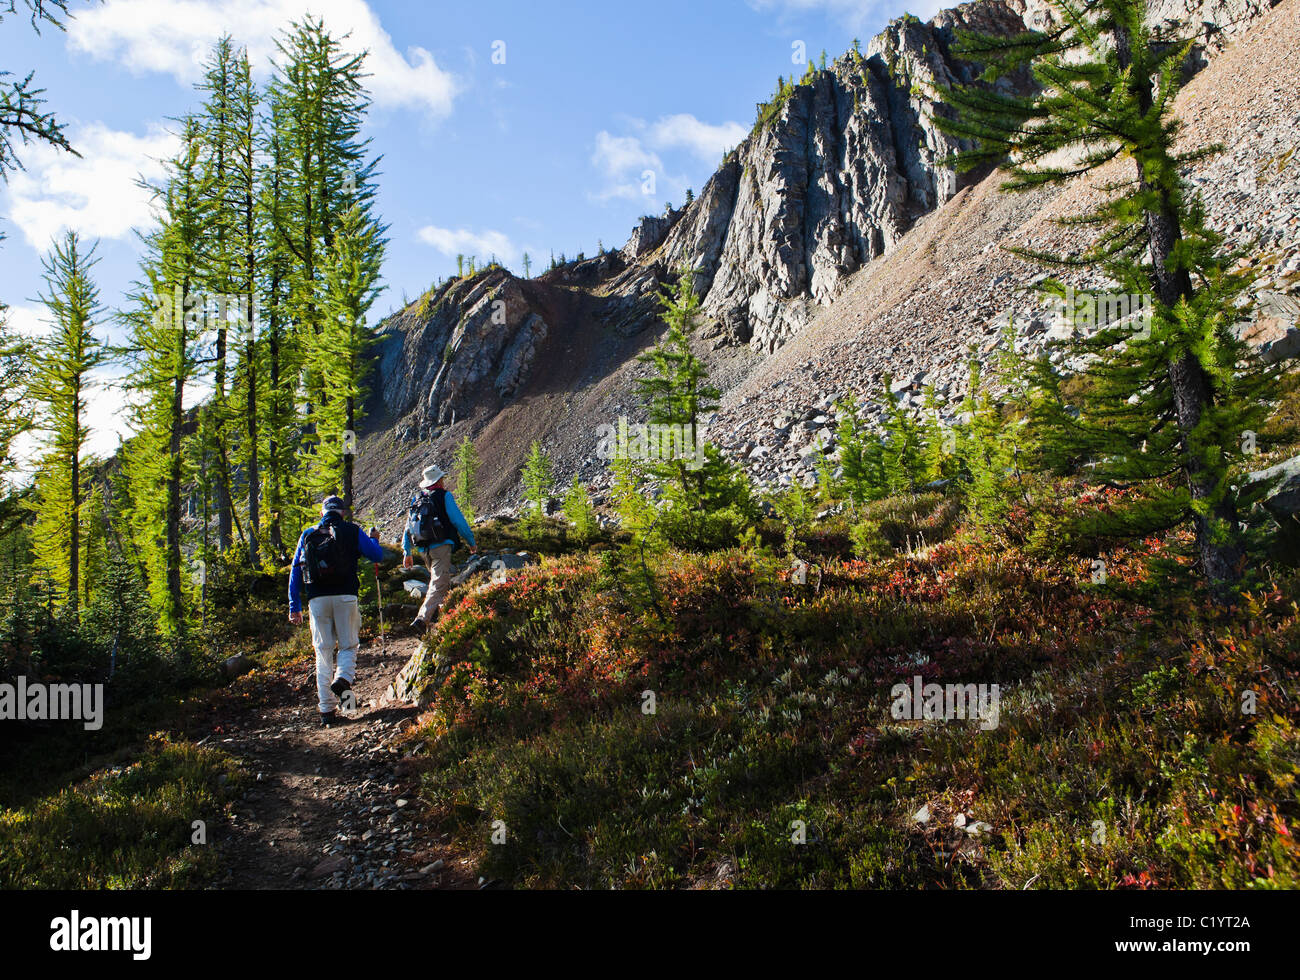
The Scenic Loop Trail is the most popular hike in Maroon Bells, with a scenic backdrop of mountains and wildflowers. The trail is shaped like a lollipops and begins with a straightaway that ends in a loop. To continue your loop, start at the west end. Continue hiking around the lake's perimeter and then return to your parking spot.
Three campgrounds are available in the region, one of which is right next to the Maroon Lake trail. The second one, located 3.7 miles away from the trailhead, is easier to access. This trail is scenic but it can be hard to see maroon bells from far. You may even encounter moose. The hikes in Maroon Bells, despite its beauty, are very popular with tourists. While the Forest Service is trying its best to manage it, it is important to keep in mind that camping is still prohibited at higher elevations.
Maroon Bells Trail: This is the most popular hike. This 1.8-mile trail offers a great view of the Maroon Bells, and is relatively flat. It is popular with backpackers, hikers, and people of different abilities. While it's not as difficult as the other, it is not wheelchair-accessible. Although it is not the only trail in this area, it is the most visited.
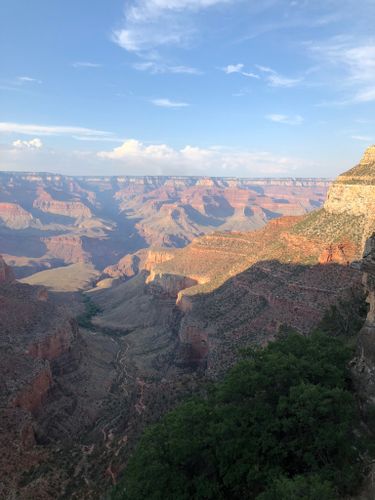
Among the other popular hikes in Maroon Bells, there are also other trails you can choose from. Three-miles of stunning scenery can be found on the Scenic Loop Trail, a lollipop trail. The scenic loop trail is the easiest and shortest route, and it's best to start your trip with a drive to the area. Crater Lake is one of the other trails that can be found in the vicinity.
You should adjust to high altitude when hiking in Maroon Bells. You can arrive at the Welcome Station early in morning to make the most of the altitude. You'll be able to adjust to the elevation well before you begin your hike. Once you're comfortable at the higher elevation, you'll enjoy the stunning views. Maroon Bells offers many hiking options.
FAQ
What information do I need before I can start my doomsday prep?"
You will first need to find out information about your local area. What natural disasters could you expect to happen in your locality? Are there major risks?
You should consider purchasing flood insurance if your home is in a flood zone. Flooding is one the most serious threats to your life in a crisis.
Consider purchasing tsunami insurance if your home is near the coasts. Tsunamis can result from underwater earthquakes. They are often unpredictable so it is important to be prepared.
Next, decide how long do you want to be independent. How long will you be able to fend for yourself?
Will you only be gone for a few days? Or will you be away for several weeks or months?
Do you plan to live alone? You will likely need a weapon if you live alone. It doesn't matter whether you choose a gun, a bow and an arrow. It doesn't matter what type of tool you choose, just make sure that you are comfortable with it.
A shovel, axe and saw are all good tools. These tools are useful for making shelters, or creating makeshift weapons.
Stock up on water and food. Make sure you have enough food for several days.
Don't forget that you don’t have to buy all the items on this list. It is important to at least start.
What's the best canned food for survival?
The best-canned food for survival is not necessarily the most nutritious. It could also depend on your needs. You can choose beans if you need energy; meat is for protein.
If you are looking for nutrition, then try to find foods that have high levels of vitamins and minerals.
What should I keep in my home for an emergency?
If you are going to be away for a longer period of time, it's important to plan ahead. Consider packing water, food, a first-aid kit, torch, batteries, and other essentials. This will help you feel more prepared and confident that you will survive whatever situation arises.
An excellent place to start would be a basic kit for first aid. Include antiseptic creams and painkillers, gauze pads. Bandages, scissors, tweezers. Thermometers. Disinfectant wipes. To see what you have in your kit, you might also need a small flashlight during power outages.
It is a good idea to keep these items in a clear plastic container with a cover. This will ensure they stay dry and clean.
You should also consider storing food for up to two weeks. You could even go one step further and create your own freeze-dried foods. These are easy to cook and require no cooking pots or pans. Add hot water to make it ready to eat.
A solar-powered battery backup system is another great idea. This will let you charge your tablet, smartphone, and laptop.
How many days should I have supplies stored away?
Ideal is to have three months of supplies saved away. That means having enough food, water, and other necessities to sustain yourself for three months.
This number can vary depending on how severe the emergency is. In remote areas, there may not be any neighbors nearby who could help you. Maybe there's no electricity grid.
If that is the case, it's best to plan for a longer-term scenario.
What should you include in a bugout bag?
A Bug Out Bag (BOB) is a kit designed to help you survive 72 hours without food, water, shelter, or communication. It includes a flashlight with a whistle, compass and knife, a whistle, a fire starter, compass, knife and matches.
Keep in mind that you won't use all of the items in your BOB. Be wise when choosing what items to put in your BOB.
How long should the supplies in a survival kit last?
You can ensure that you always have enough supplies in an emergency. When disaster strikes, you don't want your supplies to run out.
For example, if you plan to go camping, you will need to bring everything that you may need in one bag. This includes food, water, first aid kits, fire starters, matches, tools, and other items you may need during an emergency.
Additionally, you should have a flashlight and map, compass, whistle, as well as other useful items. These items will help keep you safe and guide you home if necessary.
These supplies should be kept in a waterproof container, such as a bag, box, bucket, or plastic bag. It is important that these supplies are easy-to-reach and do not get lost or tossed around in your backpack when you go hiking.
Think about the items you use the most frequently when packing your supplies. Also consider how much space each item takes. If you have room left over, consider adding extra items. If you are planning on spending a lot time outdoors cooking, you might consider adding a stove and pots to your shopping list.
Keep track of your supplies so that you are able to find them when you return to civilization.
Statistics
- In the first ten months of 2016, foreigners bought nearly fourteen hundred square miles of land in New Zealand, more than quadruple what they bought in the same period the previous year, according to the government. (newyorker.com)
- A survey commissioned by National Geographic found that forty percent of Americans believed that stocking up on supplies or building a bomb shelter was a wiser investment than a 401(k). (newyorker.com)
- Approximately a hundred and seventeen million people earn, on average, the same income they did in 1980, while the typical income for the top one percent has nearly tripled. (newyorker.com)
External Links
How To
How to treat a cut in a survival situation
What should I do if I am injured? How to deal with your wound is the first thing you should think about. Learn how to stop bleeding, and how to clean up wounds. You must then prevent the infection spreading. If the infected area is large enough, it's time to consult a physician.
Be prepared before you are hurt. It is important to ensure that you are hydrated and have enough food. It's good if you have some kind of medical kit. Make sure to have a rope and a knife. You should always carry these things with you. They could help you when you get into trouble.
These things might be useful for you if you don’t already own them. Basic knowledge is important. For example, you should know how to use bandages and disinfectants. A knife is another important skill to learn. When you cut something, you should always put pressure on the wound. This will prevent blood from escaping.
If you are in a survival situation, it is a good idea to look around and see if anything might be useful. You may be able use a stick to dig the hole. Or maybe you can use a rock to break open a shell. In this case, you should take care of your wound right away. Don't let it become infected.
To clean the wound, you should wash it with soap and warm water. After that, you should apply antiseptic cream. Cover the wound with a bandage. Bandaging keeps the wound clean and prevents infection.
Apply the bandage and check the wound each day. You should only remove the bandage if it is getting dirty. You could get infections if it gets dirty.
If you feel pain while cleaning the wound, you should tell someone else. He/she may be able to assist you. He/she should be asked to help with the healing process.
If you are the only one cleaning the wound, you must remain still for at minimum 10 minutes. This will allow the dirt settle.
It's very important to avoid scratching the wound. The germs will be able to easily get into the body if you scratch the skin. You should avoid touching the site of the wound. Germs may spread through your hands.
Protect your wound by using a bandage. It is important that you change the bandage regularly. You can avoid your wound becoming infected by changing the bandage often.
You can use leaves instead of a bandage if you don’t already have one. You can easily find leaves. A piece of cloth can be used as a bandage.
Pay attention to the weather. The temperature should not drop below 40 degrees Fahrenheit. You should take extra care when dressing the wound. Cold air can slow down the healing process.
If you live in an area with cold weather, you should wear long sleeves and pants. Gloves are also a must. Also, gloves should be on your hands.
Also, you should never walk barefoot. Walking without shoes can lead to blisters. These blisters may quickly turn to wounds.
First aid supplies are essential for hiking and camping. Also, bring a small bag containing bandages and other items.
Also, take into account the type of injury. A hospital is the best place to go if you need stitches.
It is best to avoid touching any burns that have just occurred. This will prevent infection.
It is important to stop all hunting, trapping and fishing activities immediately after you are hurt. First, dial 911.